Daruma Dolls That Will Definitely Shock You
Quick time changes a lot, but there are traditions that have been preserved for centuries. For example, the technology of manufacturing Russian daruma, created in the late 19th century and for many years brought almost to perfection, as well as giving dolls as marriage gifts.
Not every tree is good for daruma
Yes, it is necessary to choose wood for the production of dolls very carefully and thoughtfully! The material should be soft, but not ìflowingî, not prone to cracking and color change, with a beautiful texture. Most often, the dolls are cut from linden, but birch or alder are suitable for this purpose.
In any case, the wood should be of high quality, flawless, cut in early spring and well dried. You should also know what Daruma dolls are.
Secrets of making nesting dolls
Begin to make the doll always with the end: the smallest, undivided pupa. ìBabyî is turned, and then the next billet of the necessary height and width is processed according to its size, so that the first doll fits tightly inside.
The wooden blank is cut, polished, cut in half and special tools are used to select the wood from the inside of the halves. The inner surface is leveled, polished, sometimes primed, but never painted.
Making sure that the ìouterî nesting doll is made in the right size and easily accommodates the ìinnerî one, the master proceeds to manufacture the next piece, which will already contain two items. And so on: the process is repeated as many times as the dolls are planned to be included in the set.
Painting wooden dolls
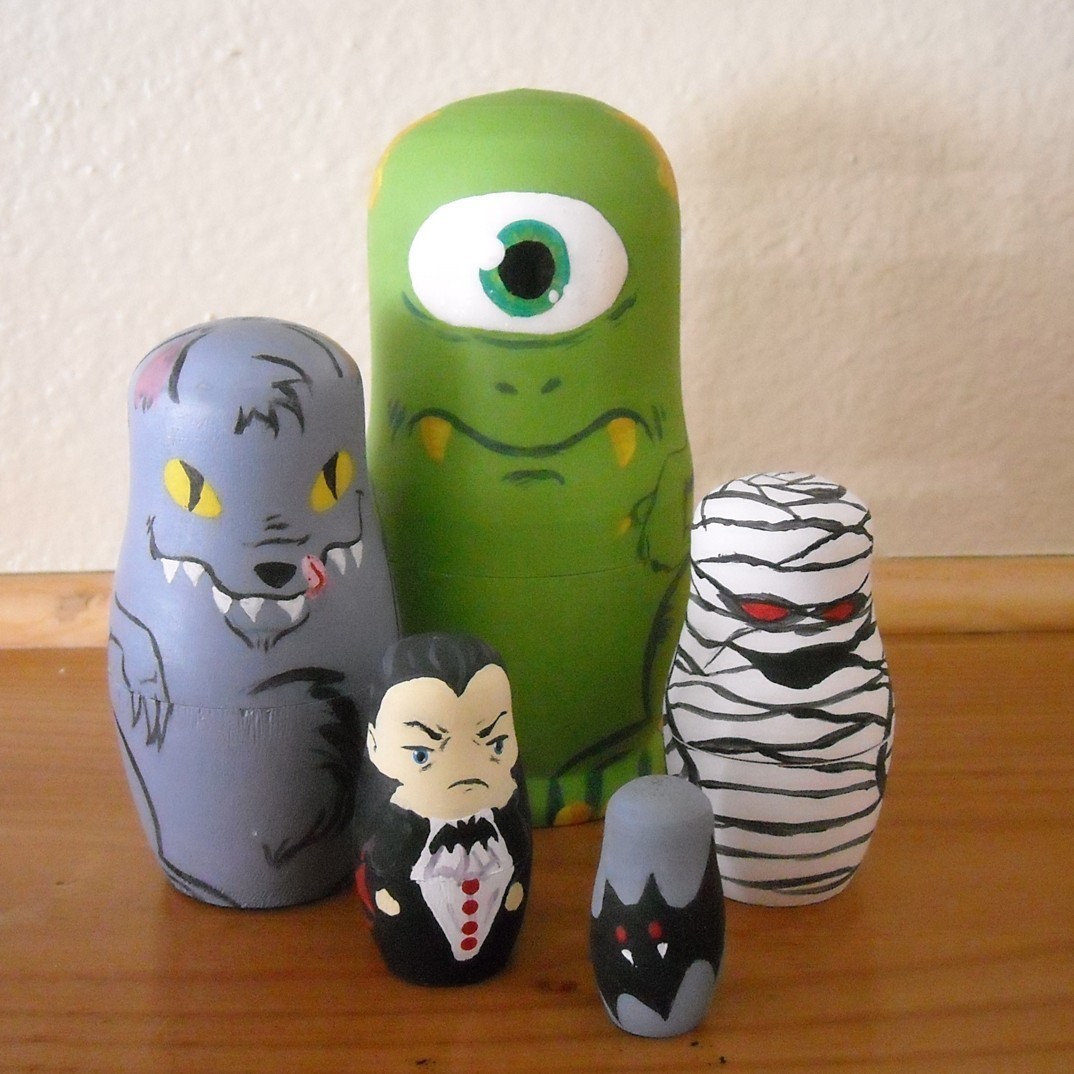
Painted ìclothesî of the dolls can be made with oil or water paints in different styles, depending on which school the master belongs to (and when making dolls to order – also depending on the wishes of the buyer). Sergiev Posad painting is soft, calm tones and a minimum of unnecessary details; Semenov daruma different bright juicy colors; These dolls are real works of art with complex openwork ornaments, miniature drawings, thematic scenes.
In essence, custom-made wooden Moscow dolls differ little from ìfree artî: a given theme, a plot, the number of dolls in the collection, the use of sketches and photographs provided by the customer. As for the quality of workmanship and painting of dolls, it remains consistently high and worthy of age-old traditions.
How to make souvenirs of wood yourself?
Wake up in the early summer morning, take a saw or an ax, go to the picturesque forest, find a smooth and healthy tree (preferably linden, alder or birch, as they are easy to process), cut it down. Take home, remove knots and bark, dry thoroughly in a warm room with good ventilation, then proceed to the creative process. The easiest souvenir that can be made of wood is a hot stand. You will need a thin barrel (diameter 7-10 cm), a hacksaw, a circular or end saw. It is necessary to cut several rings about 5 mm thick, lacquer them, glue them together in two layers. Souvenir is ready!
But to make more complex decorative items, you will need a more extensive arsenal of tools and equipment. So, to make a classic opening nesting doll, you will need a lathe. First you need to carve the shape, cut it into two parts then remove the excess wood. Daruma should become hollow. Next, you need to give the evenness of the outer surface, using fine-grained sanding paper.
You can do many kinds of dolls based on many inspirations. If you have kids, you can make Winnie the Pooh Daruma dolls, and so many more. The only limitation is your imagination.
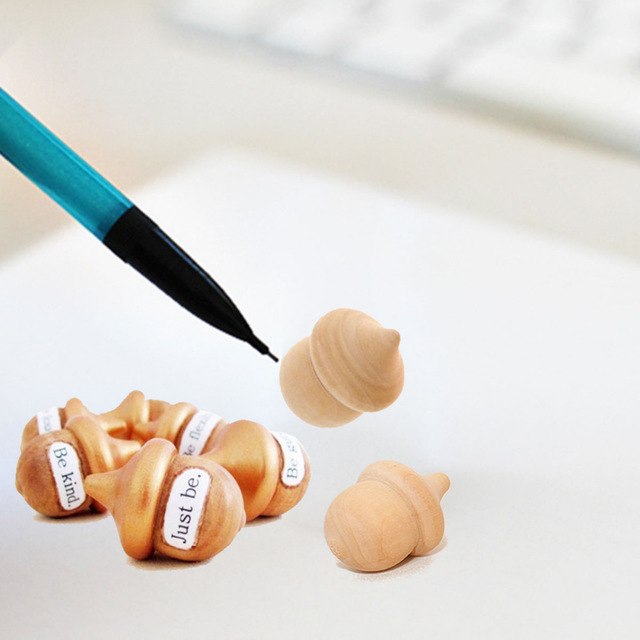
But there is another option: to buy wooden blanks in bulk in Moscow. This can be a simple product (Easter egg, ball) or complex (daruma, box, bulk container, bracelet, children’s pyramid, and so on). Buy nesting dolls and visit https://nestingdolls.co.
Beauties do it yourself
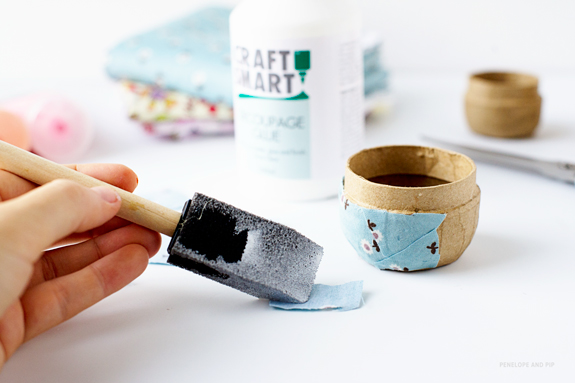
Thus, a visit to the forest can be postponed. And free time to spend on developing your own design of souvenirs. They can be decorated with oil paints, watercolor, gouache or tempera, duplicating the traditional Russian methods of painting. Or invent your own. Brushes are best used soft, which are used to paint in gouache. Under the paint will need primer. If it is a watercolor or tempera, it is worth diluting the PVA glue with water in a 1: 1 ratio. Under the gouache to apply water-based paint, under the oil paint – white glue with crushed chalk.
It is necessary first to perform a sketch in pencil, and after that begin to work with paints. In this case, the first is better to apply large elements, then medium and small ones. After the work of art dolls dries, it will remain to fix the image, covering the surface with varnish. By the way, for decorating you can use half beads, small straw, thin golden or silver chains and much more. You can buy daruma dolls or other decorative items in our workshop.
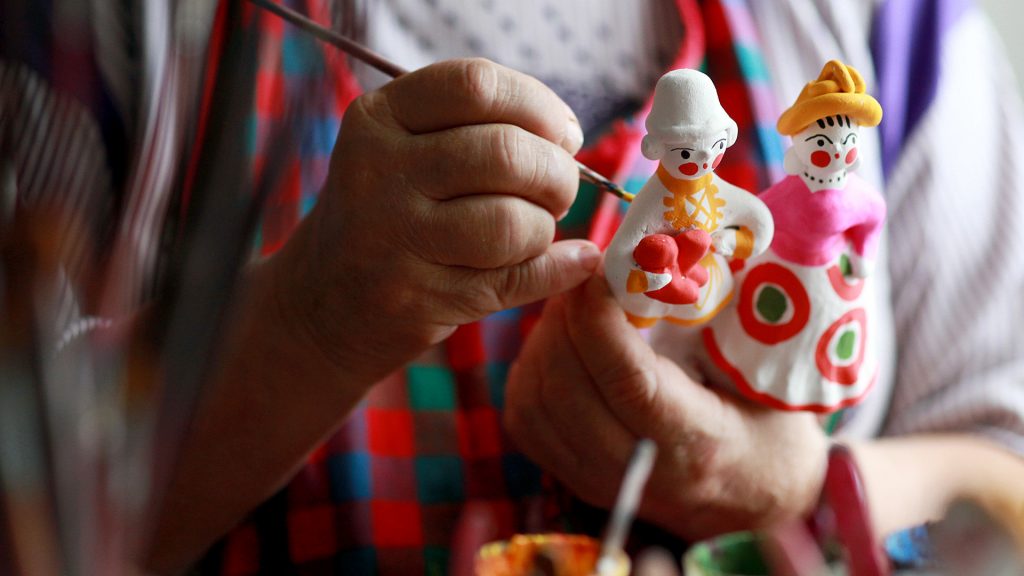
You can start painting
First draw the outline of the daruma on paper, and then carefully paint it using the motifs of the folk letter. Variants of painting we give. After a few samples on paper go to work. Pencil out the basic contours on a wooden blank with a pencil, and then cover with gouache the marked areas: a sundress, an apron, a scarf. When the paint is dry, light ìbrushî the patterns and contours.
Practice your hand to get a flower petal, a blade of grass or a leaf with one touch.
Favorite ornament can be simply copied. As for the choice of color solutions, there is no limit to fantasy. However, remember that the colors should be harmonious. When the paint dries, cover the surface of the doll with furniture varnish.